Introduction
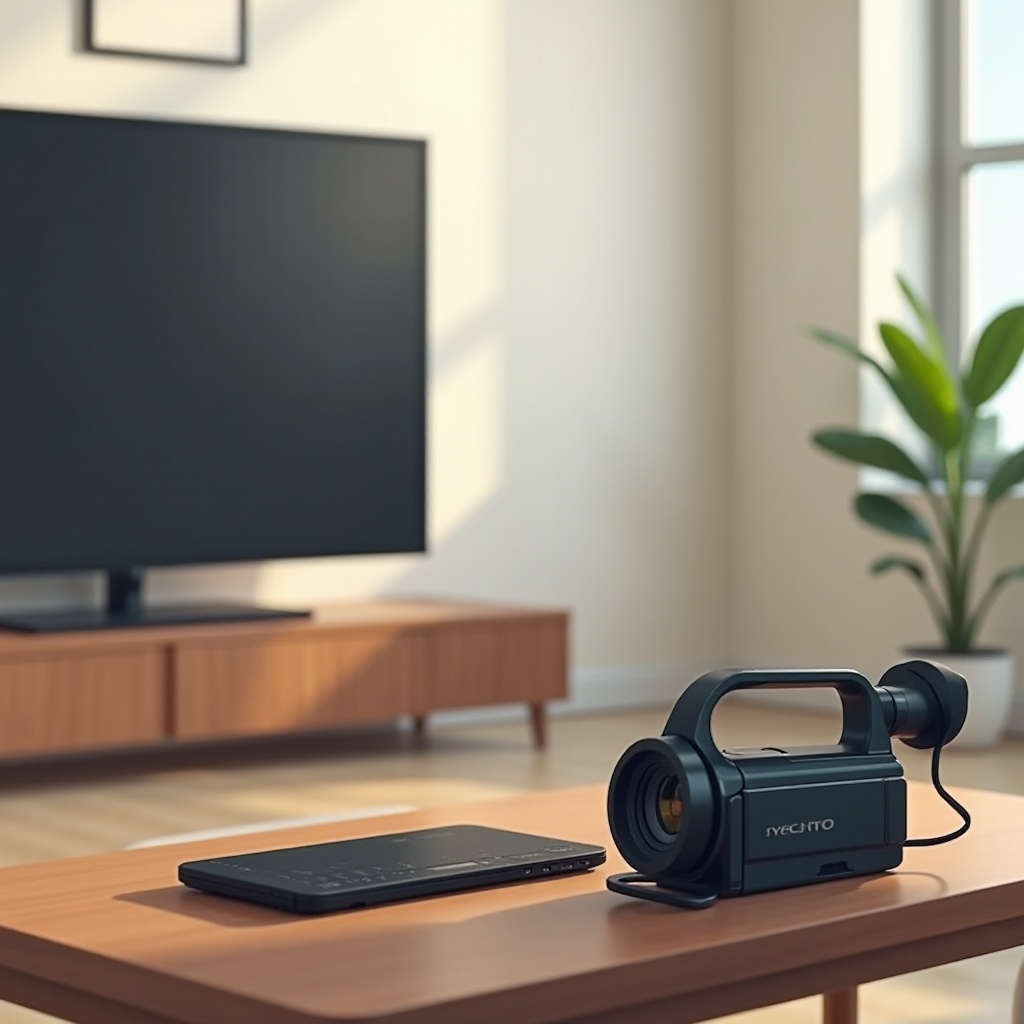
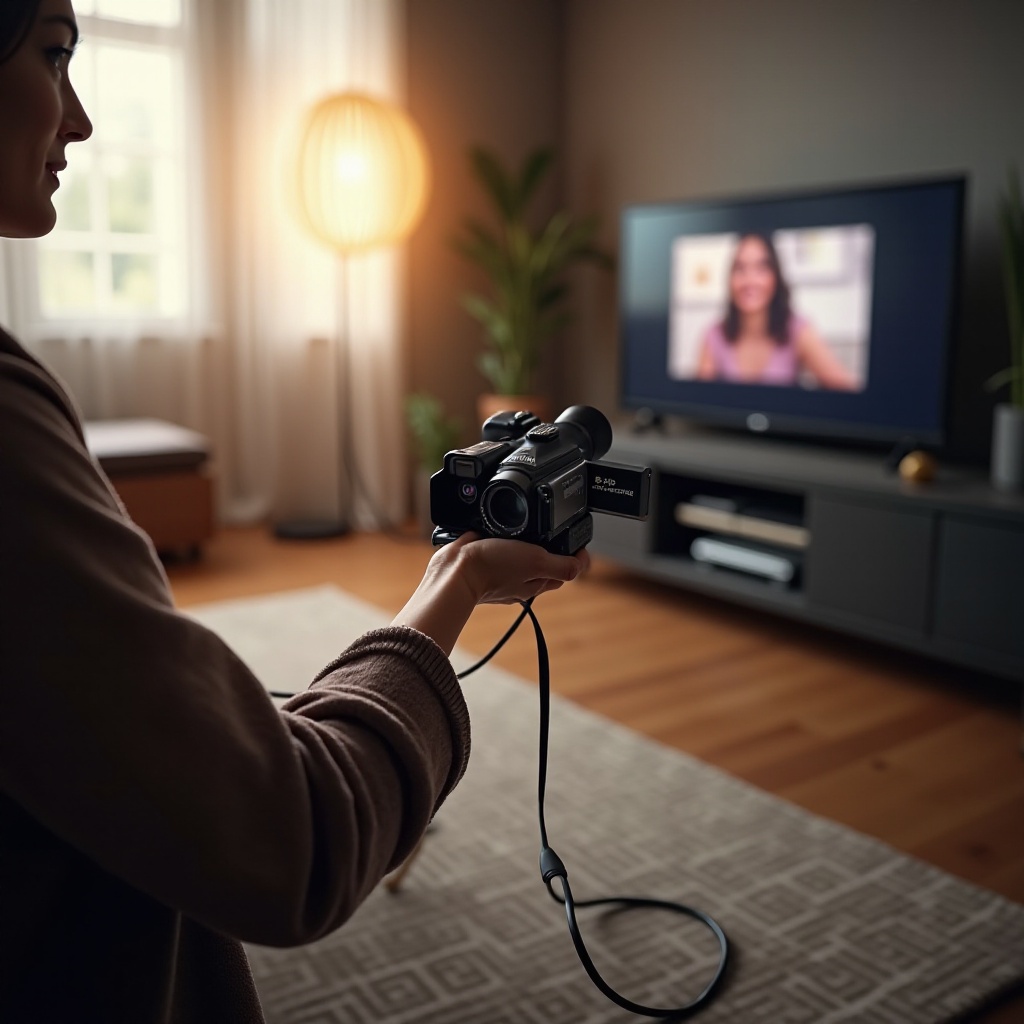
Connecting your camcorder to a TV transforms personal videos into larger-than-life experiences. Whether you’re enjoying cherished moments with family or analyzing footage for projects, a big-screen display can significantly enhance the experience. Although the process might seem complex, with the right guidance, anyone can do it. In this guide, we’ll walk through the essential steps, provide helpful tips, and tackle potential issues to ensure a smooth setup process.
Understanding Your Camcorder and TV Connections
Before diving into the setup, it’s vital to distinguish the types of ports and connections on both your camcorder and TV. Understanding these will make choosing a connection method straightforward.
Identifying Camcorder Output Ports
Camcorders typically come equipped with several output ports. Common ones include:
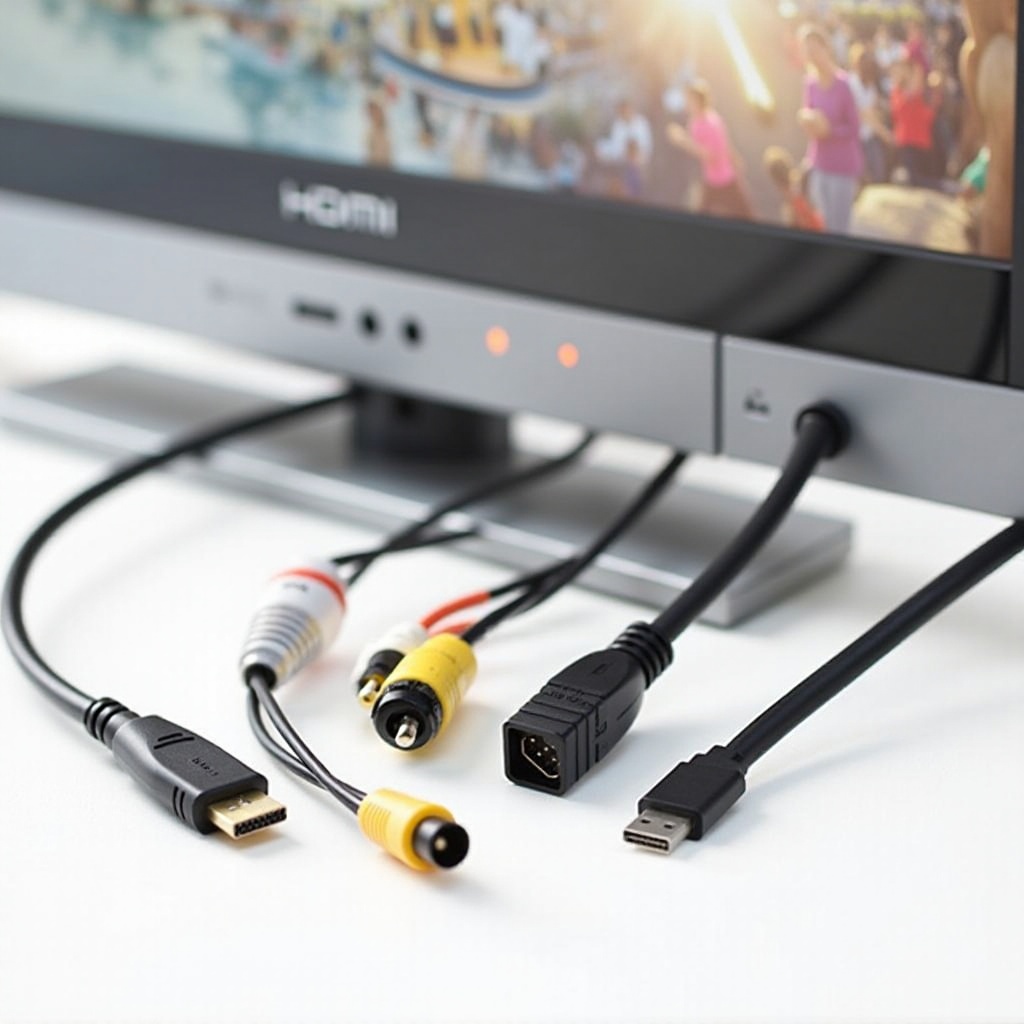
- HDMI Port: This is common on newer camcorders and supports high-definition video and audio.
- AV Output: Consists of composite video and stereo audio jacks, typically used on older models.
- USB Port: Found on newer camcorders for data transfer and sometimes video output.
Recognizing TV Input Options
Your TV also comes with varied input options. Familiarity with these is key:
- HDMI Input: Standard on modern TVs, handling both audio and video signals.
- AV Input: These are the three colored ports – yellow for video, red and white for audio.
- USB Port: Available on smart TVs, though primarily for media playback rather than direct video display.
Checking Compatibility
Ensure your camcorder’s output is compatible with your TV’s input options. Adapters or special cables might be necessary if there’s a mismatch. Consult your devices’ manuals or search online if needed.
Different Connection Methods for Hooking Up Your Camcorder
Equipped with an understanding of ports and compatibility, let’s explore the different methods you can use to connect your camcorder to your TV.
Connecting via HDMI Cable: The Popular Choice
- Check for HDMI Ports: Verify the presence of HDMI ports on both your camcorder and TV.
- Use an HDMI Cable: Opt for a high-quality HDMI cable for the best results.
- Connect the HDMI Cable: Plug one end into the camcorder’s HDMI output and the other into the TV’s HDMI input.
- Select HDMI Input on TV: Utilize your TV remote to switch the input source to HDMI.
Using AV Cables: A Guide for Older Devices
- Locate AV Outputs: Identify the yellow, red, and white outputs on your camcorder.
- AV Cable Connection: Insert the AV cables into the matching colored ports on both the camcorder and TV.
- Select AV Source on TV: Change the TV’s input source to AV using the remote control.
Utilizing USB Connections for Direct Interface
- Check USB Compatibility: Ensure your camcorder supports USB video output.
- USB Cable Connection: Utilize a USB cable to connect the camcorder to the TV’s USB port.
- Access Media Files: Navigate to your TV’s media or file viewer. This may involve converting video formats if they’re incompatible.
By understanding these methods, you can choose the most suitable one for your devices, ensuring a seamless connection process.
Step-by-Step Instructions for Each Connection Type
Let’s delve into detailed steps for a successful connection based on your chosen method:
HDMI Connection Steps
- Turn off Devices: Ensure both your TV and camcorder are off before connecting.
- Insert HDMI Cable: Connect the HDMI cable between the camcorder and TV.
- Power On and Select Source: Turn on both devices and switch your TV to the HDMI input.
AV Cable Setup Guide
- Power Off Devices: Begin with both devices powered off.
- Connect AV Cables: Match the colors of the plugs to the ports on both devices.
- Turn On and Select AV Source: Activate your camcorder and TV, then select AV input.
USB Direct Connection Process
- Prepare Devices: Ensure both are turned off and the camcorder is in playback mode.
- USB Connection: Attach the USB cable from camcorder to TV.
- Access TV’s USB Media Menu: Power on both devices. Navigate to USB input on the TV to view files.
Following these instructions carefully will ensure a successful connection for enjoyable viewing.
Troubleshooting Common Issues
Encountering issues during setup is common but solvable. Let’s address frequent problems and their remedies:
Solving No Signal Problems
- Check Cable Connections: Ensure cables are securely connected to the correct ports.
- Select the Correct Source: Double-check that the TV input matches your connection.
Fixing Audio and Video Sync Issues
- Restart Devices: Power cycle both camcorder and TV to reset their settings.
- Check Settings: Adjust the camcorder’s audio settings or TV’s sync options.
Connection Not Recognized: What to Do
- Try Another Cable: Faulty cables can cause connection issues; test with another.
- Consult Manuals: Reference user manuals for compatibility specifics or additional troubleshooting steps.
With these solutions, you can quickly address any hiccups that occur during the process.
Enhancing Your Viewing Experience
Once you’ve connected your camcorder to your TV, take a moment to optimize the display for the best viewing experience.
Adjusting Picture Settings for Optimal Display
- Aspect Ratio: Set the correct aspect ratio for full-screen viewing.
- Picture Mode: Experiment with different picture modes for optimal color and brightness.
Improving Audio Quality for Better Sound
- Volume Levels: Adjust sound levels for clarity without distortion.
- External Sound Systems: Consider using external speakers or a soundbar for enhanced audio.
Maximizing these settings will ensure your footage is as vibrant and immersive as possible.
Conclusion
Connecting your camcorder to a TV is an excellent way to breathe new life into your recorded memories. Whether you’re using HDMI, AV, or USB connections, the steps outlined will ensure a hassle-free setup. With the right preparation and troubleshooting tips, you can overcome potential issues and enjoy smooth, beautiful playback on your TV screen.
Frequently Asked Questions
Can I connect a camcorder to a smart TV wirelessly?
Yes, if your camcorder and TV support this feature, use options like Wi-Fi or casting devices.
What should I do if my camcorder has only an AV output?
Use an AV cable for direct connection or an AV to HDMI converter for modern TVs without AV input.
Are there adapters available for connecting older camcorders to modern TVs?
Yes, adapters like AV to HDMI or USB converters can help connect older camcorders to newer TVs.