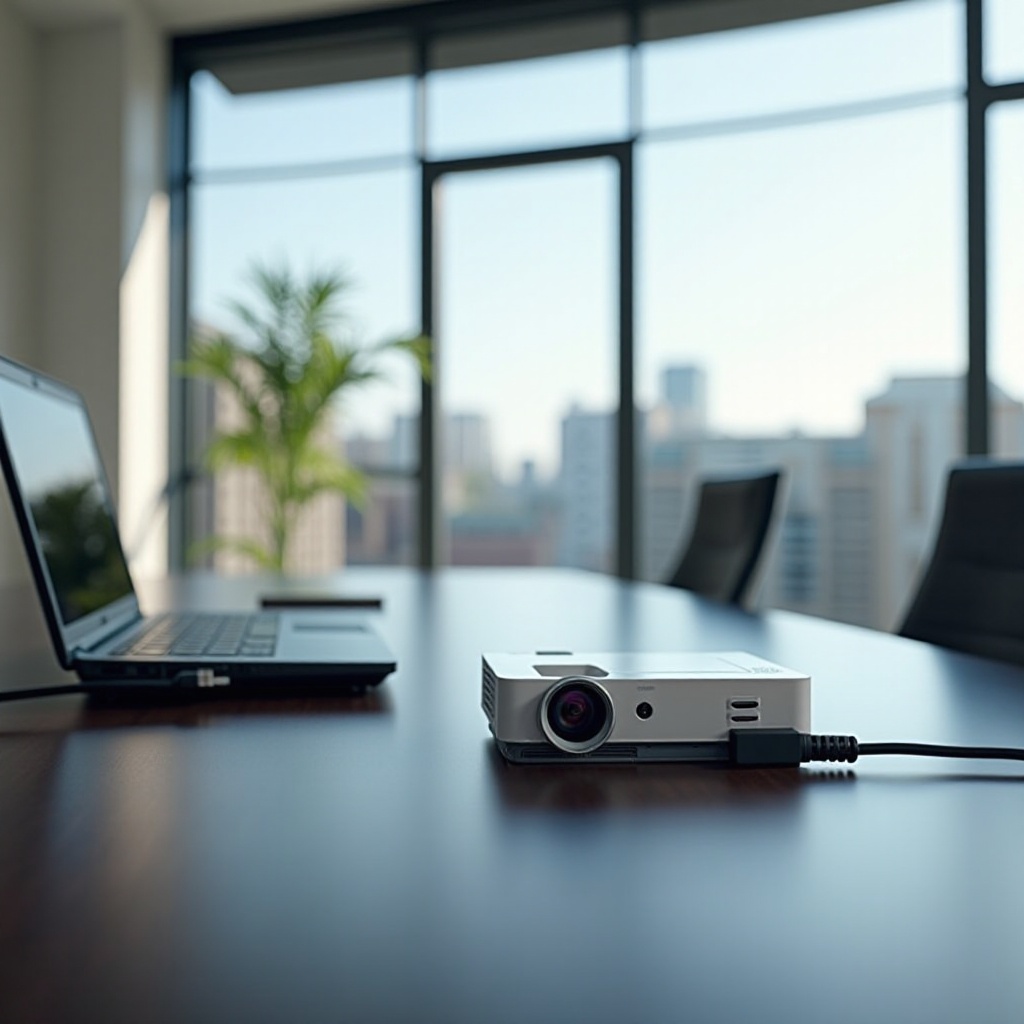
Connecting a laptop to a projector is essential for professionals, educators, and even home users aiming to enhance their presentation or viewing experiences. Whether you’re preparing for a business meeting or setting up for a family movie night, mastering this connection helps achieve professional-quality visuals every time. This comprehensive guide will walk you through the necessary equipment and steps required for a successful connection.
Essential Equipment for Connecting a Laptop to a Projector
Before diving into the connection process, ensure that you have all the necessary tools. The right equipment makes the setup seamless and the display optimal. Here’s what you’ll need:
- ‘Projector’: Choose a projector compatible with the video outputs on your laptop, such as HDMI, VGA, or USB-C.
- ‘Cables and Adapters’: HDMI is standard for transmitting both video and audio. For VGA, which is common on older projectors, you may need additional adapters. USB-C is increasing in popularity for its versatility.
- ‘Audio Equipment’: If you’re using VGA or USB-C, consider having external speakers or an audio cable available as these connections might not carry sound.
With your equipment ready, let’s proceed to the actual connection process.
Step-by-Step Guide to Connect Your Laptop to a Projector
To establish a robust connection between your laptop and projector, follow these detailed steps:
- ‘Prepare Your Devices’:
- Turn off both the laptop and the projector to start the connection process.
-
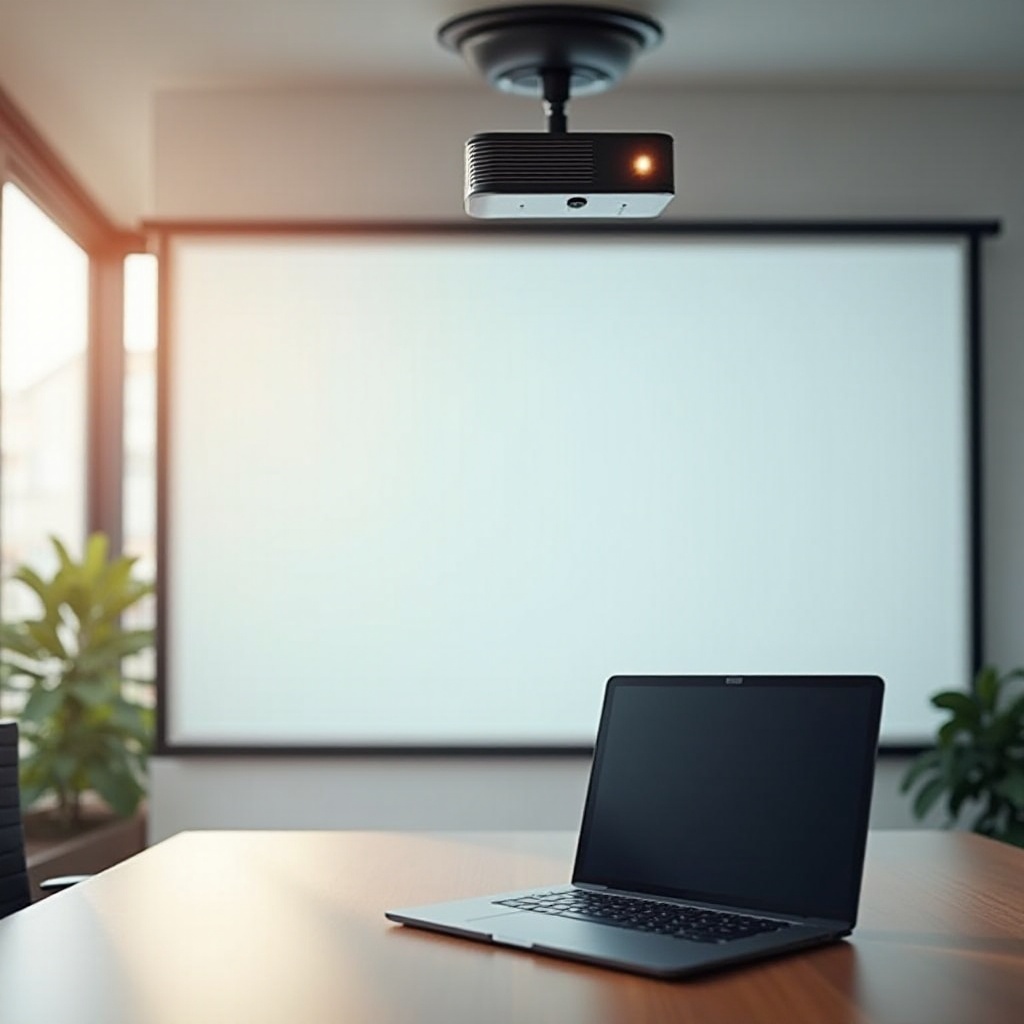
Ensure the projector is on a stable surface or correctly mounted.
-
‘Wired Connection Setup’:
- ‘HDMI Connection’:
- Plug the HDMI cable into both the laptop’s HDMI port and the projector’s HDMI input.
- Power on the projector, then the laptop. The projector should automatically detect the input.
- ‘VGA Connection’:
- Connect a VGA cable from the laptop to the projector. Attach an audio cable if necessary for sound.
-
Turn on both devices in succession.
-
‘Switch Display Modes’:
- For Windows, press ‘Windows + P’ to choose between Duplicate, Extend, or Second Screen Only.
- On a Mac, open System Preferences, go to Displays, and select ‘Mirror Displays’ or ‘Extend Desktop.
After establishing a wired connection, you might consider the benefits of a wireless setup for more flexibility.
Wireless Connection Alternatives
When mobility or convenience is a priority, explore wireless connection options. They can simplify your setup process:
- ‘Chromecast’:
- Insert the Chromecast into the projector’s HDMI port.
-
Set up the device using Google Home and cast from your laptop via a Chrome browser tab.
-
‘Miracast’:
- Utilize the Miracast function available on Windows laptops.
- Go to Project settings and select Connect to a Wireless Display, then choose your projector.
Wireless connections can simplify your hardware setup but may require additional configuration time. Next, we will adjust your settings for optimal display quality.
Configuring Display Settings on Different Operating Systems
Fine-tuning display settings is crucial to ensure the projection is crisp and clear, maximizing your content’s visual appeal.
- ‘Windows Laptops’:
- Open Display Settings from the Control Panel.
- Define the display resolution and adjust under the ‘Resolution’ settings.
-
Use ‘Multiple Displays’ to configure how your screens interact.
-
‘MacBooks’:
- Access System Preferences and select Displays.
- Check the ‘Show mirroring options in the menu bar’ and choose either ‘Mirror’ or ‘Extend’ Display.
By configuring these settings, you can manage common projection quality issues. If problems persist, proceed to troubleshooting common connection issues.
Troubleshooting Common Connection Issues
Encountering technical issues can be frustrating, but they often have simple fixes. Here are common problems and their solutions:
- ‘No Signal’ Error:
- Double-check that the correct input source on the projector is selected.
-
Inspect all cables for proper connection and functionality.
-
‘Display Issues’:
- Blurry or distorted projections may indicate a resolution mismatch; adjust these in the Display Settings.
- If there is an intermittent signal, inspect your cables or consider replacements.
Having a troubleshooting plan ensures you’re prepared to address issues quickly, allowing your setup to run smoothly. These additional tips further enhance your projector performance.
Tips for Optimizing Your Projector Setup
Small adjustments greatly enhance your presentation quality, leaving a lasting impression on your audience. Consider the following:
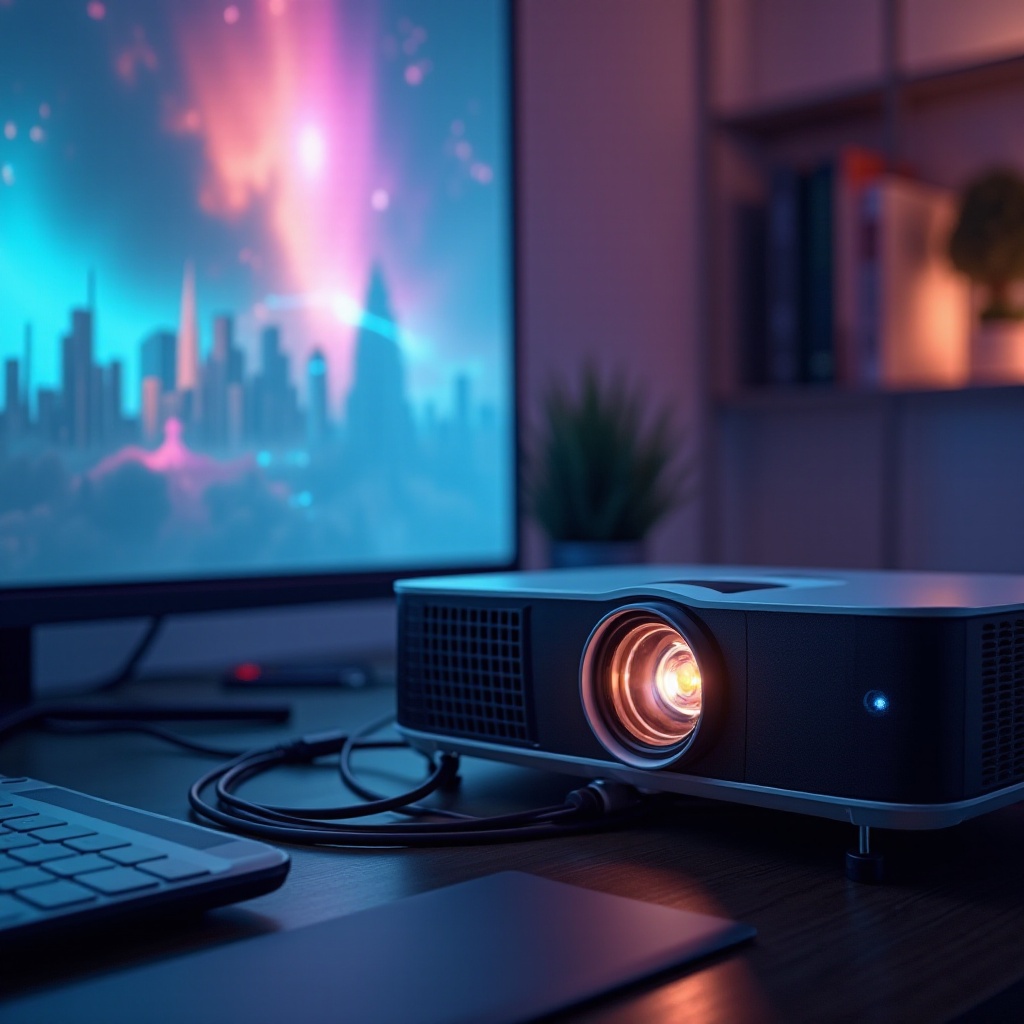
- ‘Picture Quality’:
- Adjust the projector’s contrast and brightness settings for a clearer display.
-
Use keystone correction to align the image correctly.
-
‘Audio’:
- If the projector lacks built-in speakers, connect external ones through Bluetooth or an audio cable.
- Prioritize sound checks to prevent disruptions during presentations.
With these optimization tips, your projector setup will be ready for any event. Let’s wrap up with final thoughts.
Conclusion
Effective connection between your laptop and projector demands understanding and practice which this guide provides. The step-by-step approach equips you with the skills needed to create impressive and seamless displays, whether in a business or personal setting. Continual practice and using the troubleshooting tips ensure ease and confidence in your abilities.
Frequently Asked Questions
What should I do if my projector is not displaying my laptop screen?
Check the cable connections and input source on the projector. Restart both devices if necessary.
How can I improve the sound quality when using a projector with my laptop?
Use external speakers for better audio. Connect via Bluetooth or a 3.5mm audio cable.
Are there any specific laptops more compatible with projectors?
Modern laptops with HDMI or USB-C ports provide the best connections, but older devices work well with suitable adapters.